CellMek SPS
Sample Preparation System
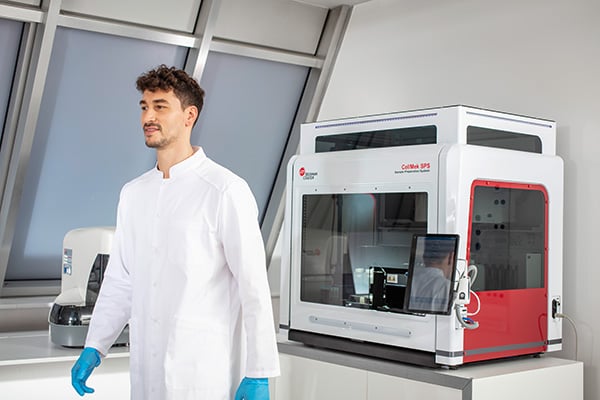
The CellMek SPS system streamlines complex cellular workflows in clinical flow cytometry, delivering automated sample prep with unmatched consistency.
- Optimize your workflows with flexible, end-to-end automation
Run different samples side-by-side— automated, customizable, and built for true multitasking across diverse applications - Unleash your team’s potential
Redefine efficiency in your flow cytometry lab via significantly reducing hands-on time for sample preparation - Ensure uncompromising data integrity, full traceability and compliance
Count on consistently reliable results with high reproducibility and fewer errors


CellMek SPS Features
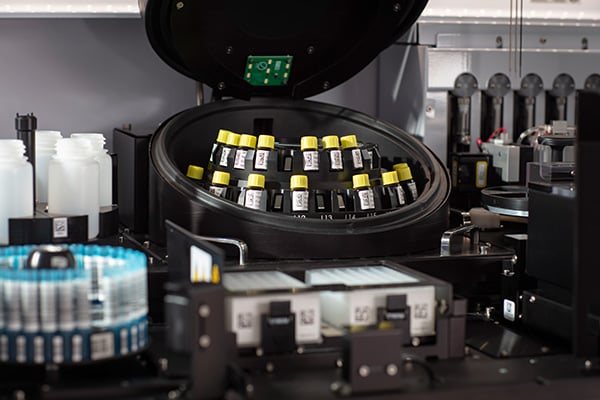
The CellMek SPS system helps your lab reach the next level of process optimization. It is designed to simultaneously manage various preparation methods in random access while providing continuous loading, optimizing efficiency and traceability.
Flexible automation
- For hands-free cell washing, RBC lysing and antibody staining— supporting seamless integration with existing workflows.
- Use a variety of specimens and applications via pre-programmed and standardized methods—or tailor protocols to your needs using Panel Designer Software.
- Efficient workflows via continuous load/unload capabilities. Also enables task scheduling with random addition of samples.
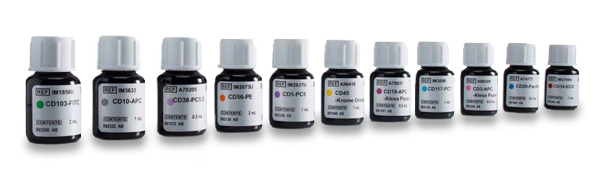
- Use liquid or dry reagents, including innovative DURACartridges.
Maximize your team's potential
- Less hands-on time for sample prep frees your skilled technicians from tedious, repetitive tasks.
- Parallel sample processing lets you continue analysis while the system continues cell prep.
- Auto-cocktailing tool lets you schedule creation of antibody cocktails at your convenience—to create 1 cocktail at a time or queue several batches simultaneously!
- Cocktail QC ensures accuracy, consistency and traceability of antibody mixes.
Ensure uncompromising data integrity
- Proprietary spin-wash design safeguards data quality by preventing differential cell loss.
- With integrated antibody vial cap piercing and refrigeration, keep liquid reagents stable onboard for extended periods to simplify inventory management.
- Use of onboard counting beads enables automated absolute cell counts, with angled adapters minimizing dead volume.
Unlock the Power of Lean
The CellMek SPS System is designed to enable lean processing. The LEAN concept provides a systematic approach to look at workflows to take out all non-value adding process steps, the so-called process wastes, in order to increase efficiency. The CellMek SPS System addresses the challenges associated with complex sample preparation in flow cytometry to increase lab efficiency and helps you to cope with increasing workloads. Are you ready to Unlock the Power of Lean?

Increase Your Lab Efficiency
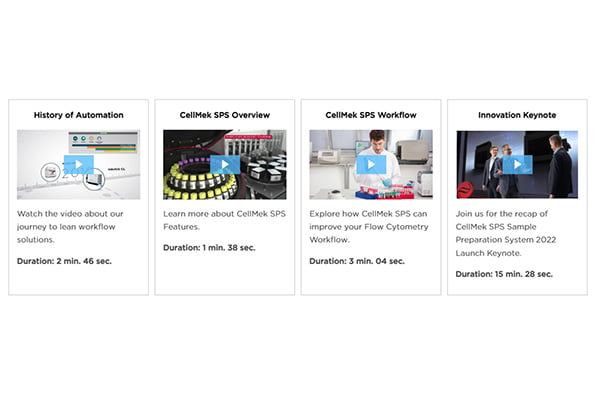
Watch the Launch Video
Reduce Process Wastes
Let me learn more!
Optimize Your Workflows
I want to hear about labor savings
Full Traceability and Compliance
Yes! Show me the audit trail
Automate Your Processes
Show me the automated process now!
Learn more about CellMek SPS
CellMek SPS System: Características del Instrumento

Explore CellMek SPS Models
Documentos técnicos
Related Products